Friday, June 20, 2008

A word about primer...

Me, I'm a black primer man. I spend my money and gaming time on historical miniatures and rules systems and have left that "fantasy crap" be. In that vein, the darker, draber, and deeper the model and mini I can make w/o going to special lengths to do so, the better!


Saying that, what is best to use? I've tried all kind of primers and and paints, and most have left me wanting. But there were some interesting experiments. In all:


DON'T USE PAINT!! Either brushed or sprayed on. It will apply WAYYYYY too thick and you will loose surface detail. They key here is to do the most, with the least in terms of priming product.


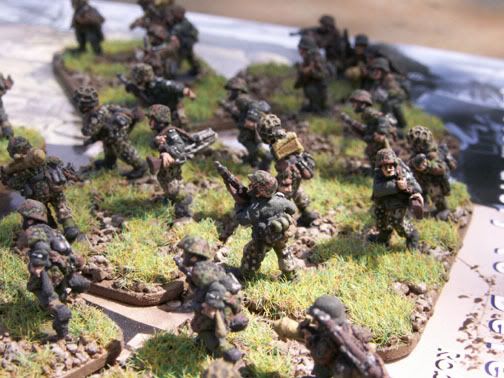
After many failed experiments, the best I have found is auto primer in an "off-black" to "darker gray".

The light in this photo gives a yellowish cast, but the results are fantanstic. Primers, as opposed to 'full-on' paint tends to apply thinner and cover better provided you don't have a heavy hand with the can.

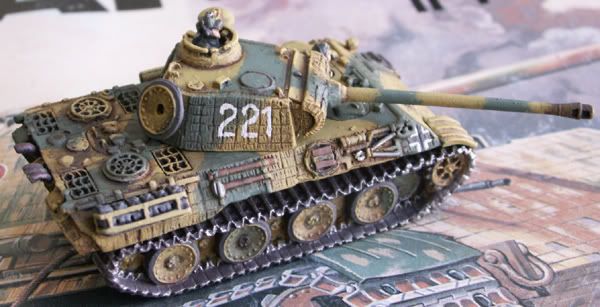
This is "Rustoleum", in OFF-BLACK... no full black or standard gray. It kinda splits the difference between the two. I prime figs, vehicles, everything with this stuff and my results have been very satisfactory. It sells for around $5 a can, and does a great job, however, towards the end of the can, or if it has sat for a while, it can "spit" and ruin your project. Always (and this is a good rule for any product) test it first. I use a cardboard box to spray into and keep the overspary contained. A few test shots inside the box before I spray the model or fig is a good idea before I prime.

-aus

Thursday, June 19, 2008

Battlefront TIGER(s) review...

Opening salvos: Tiger 1E

My first offering with the new project is a review of both the new Battlefront sculpts of Tiger 1E and Tiger 2B (Konigstiger). I have experience in the old sculpts for both vehicles and it will be interesting to see how things have changed.

Here is an older sculpt of a Tiger 1E, late war production (see the pressed steel roadwheels). As I recall most of the "iffy" parts (fenders and mudguards) were molded either with the hull or with the track assembly. This made "extreme weathering" which I like to do rather difficult. It became a major project ot "lose" a mud guard or a fender part. BUT... one also had to glue the commander's hatch lid open. If you were to game with this model either you lost the lid rather quickly or you kept gluing it back on. Me, I chose to leave it off.


With the new latewar Tiger 1E, it comes with many crew options, an "open or closed" single-peice TC's hatch, and the entire fender assembly (front, side, and rear guards) are seperate. Now this makes the overall assemply more "fiddly" and time consuming, but the weatherin possibilities are dramatically increased!! Bravo Battlefront!!


Now, in this instance I am modeling Wittmann's "007" Tiger from his final battle keeping the northern neck of the Falaise Pockt open. Yeah, I guess just like everyone else who buys the Wittmann box. Point being, it was the batallion Commander's tank, and in these instances they are kept pristine... not all banged up and gnarly like the "line tracks". So, I gotta put it all together properly and not take liberties.

Here you can see better the entire fender assembly, and understanding I am NO master modeler, they seemed to fit together well. I will suggest that one attached the side fenders first, BEFORE the tracks. Trust me, it will be easier.


Anyway, the fenders fit well, were proportional, and in all look great. The rear fender went on very well and I was impressed. BF really seemed to put in some time on this model. The trick now will be to have the front/rear fenders on both sides symmestrical and hanging at the same angles. I do have concerns about their resilience on and off the gaming table... but only time will tell.


next, a word about primer...

Monday, June 2, 2008

SOLD pt II...

Here are some of the units I sold this last Thursday...

my "Hitlerjugend" grenadiers...


Panther A...

more grenadiers...


More to follow people...

-aus